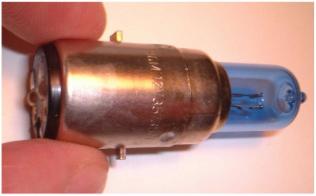

| Upgrading to a halogen headlamp With 6 volts and 25 watts the headlight on a smallframe Vespa is never going to dazzle oncoming drivers. In fact, without decent streetlighting you're screwed, as you can't actually see a bloody thing with it. Luckily Beedspeed will sell you a replacement Bosch halogen headlight, which should provide a much better light. The bulb you need is a Bosch BA20D 6V 25/25W Halogen Clear. This picture shows a blue one.
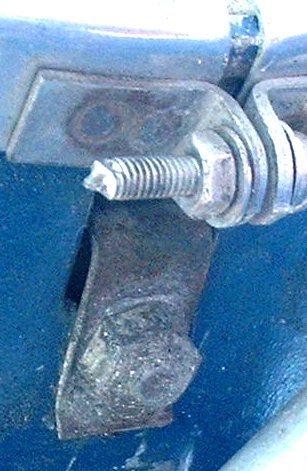
First you need to remove your headlight. to do this, locate the bolt under the headset.
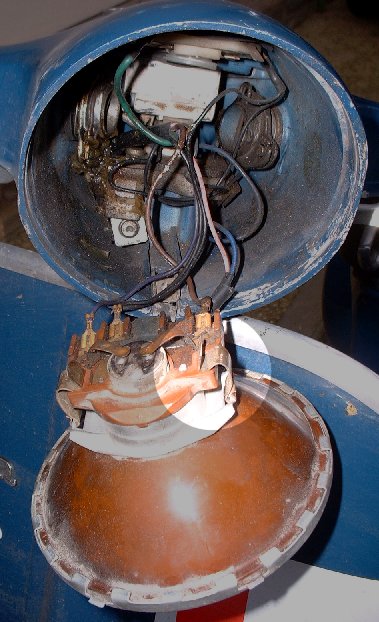
Primaveras have a headlight rim, which should be removed now. The nut is tiny, so just grip it with needle nosed pliers and unscrew the joint until the rim slips off. The headlight bolt can then be loosened with a 10mm spanner. You don't need to completely remove the bolt. Now, with the headlight removed you can see two clips (one of which is highlighted here) that hold the bulb in place.
Just flip these open, making sure you don't drop the headlight shell! Now you can see the bulb. Note the orientation. There's a little cutout in the black backing which should be uppermost when the light is in the headset. You can see it in the picture above just to the left of the highlighted area. Make sure when you put the new bulb in it is oriented the same. You can also see the two little tabs on the headlight shell. these slot into two matching slots on the inside of the headset, at the top. To remove the bulb push it up a little and twist anticlockwise. You can see where the pins are that locate it so this is easy.
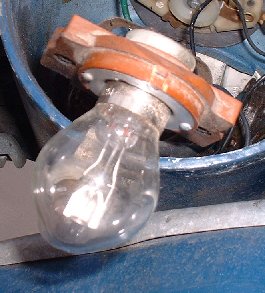
Now insert the new halogen bulb, reverse the process to fit it all back together. You should align your headlight height when you tighten up the bolt. To do this you need to make sure your tyre pressures are correct and you are on some level ground, with a wall 5 metres in front of you. Clearly mark a point on a wall about 88-90cm up from the ground, and set the throttle about 1/3rd open. with yourself or someone on the scooter, and the kickstand up adjust the beam direction so that it's concentrated on the spot you've marked, and tighten the bolt. the setting should be valid for 1 or 2 people on the scooter as long as you had the correct tyre pressure, but remember you need a higher pressure with 2 people on. Now when you ride your scooter at night it's a whole world of difference. You can actually see where you're going now! You might even dazzle people, so now's the time to figure out which is dipped beam and which is main beam ;-) |